Friday, November 16, 2007

Another Journal Binge - Recent, too! A bit of a jump, but still. Update!

November 16, 2007 (8:33 AM – 5:34 PM, 9 1/60 hours today, 95 29/60 hours total)

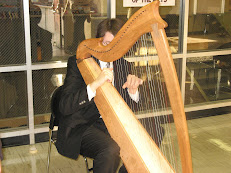
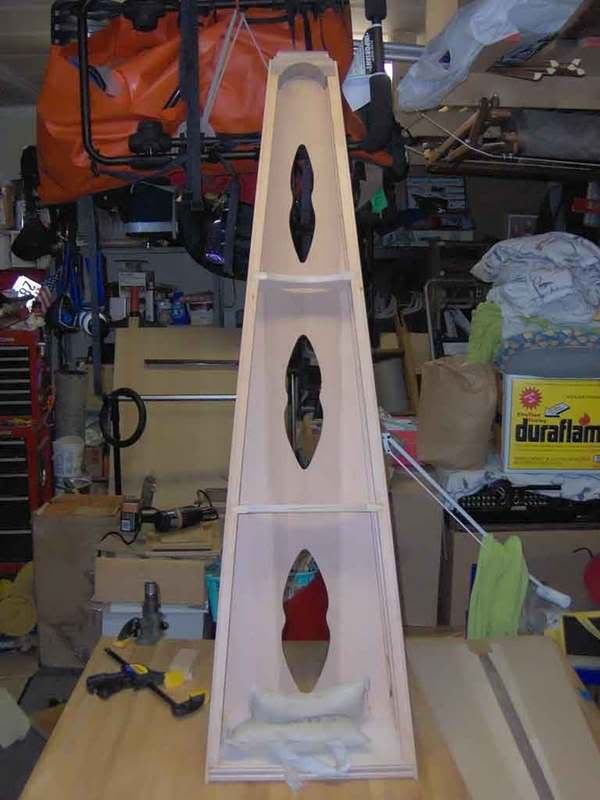
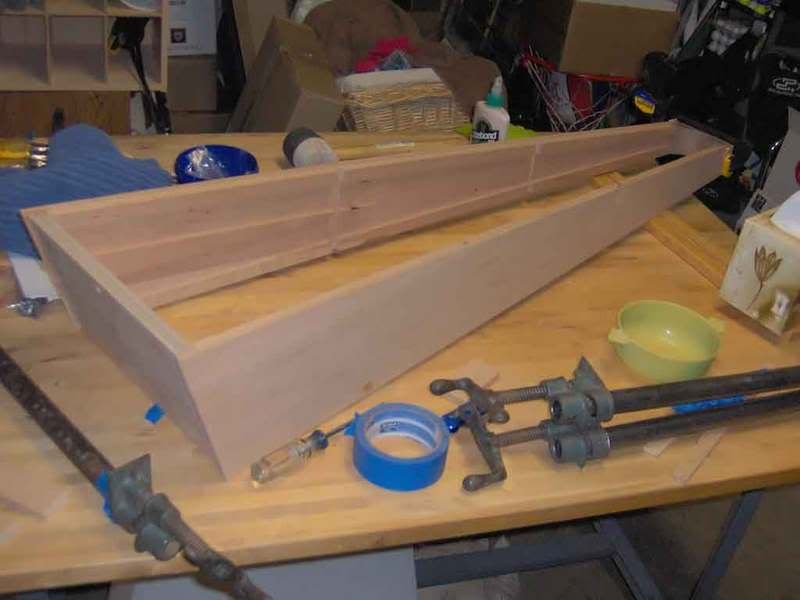
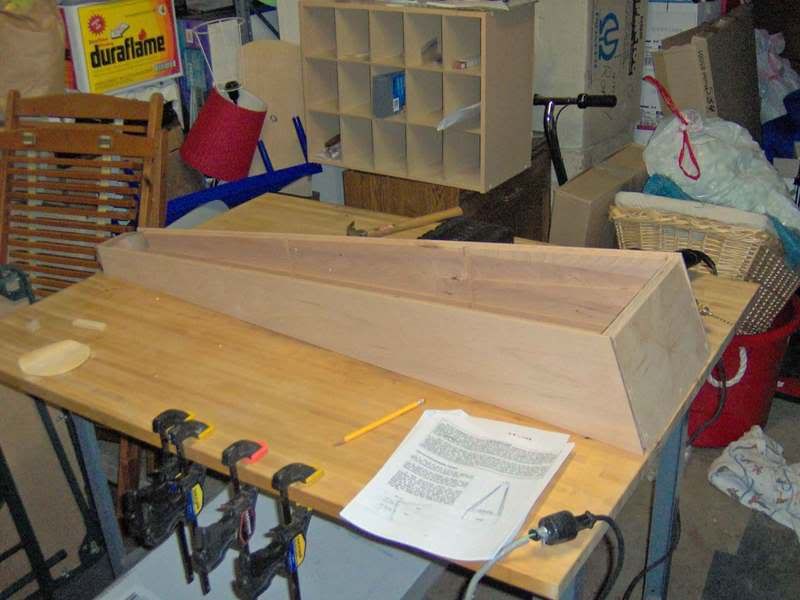
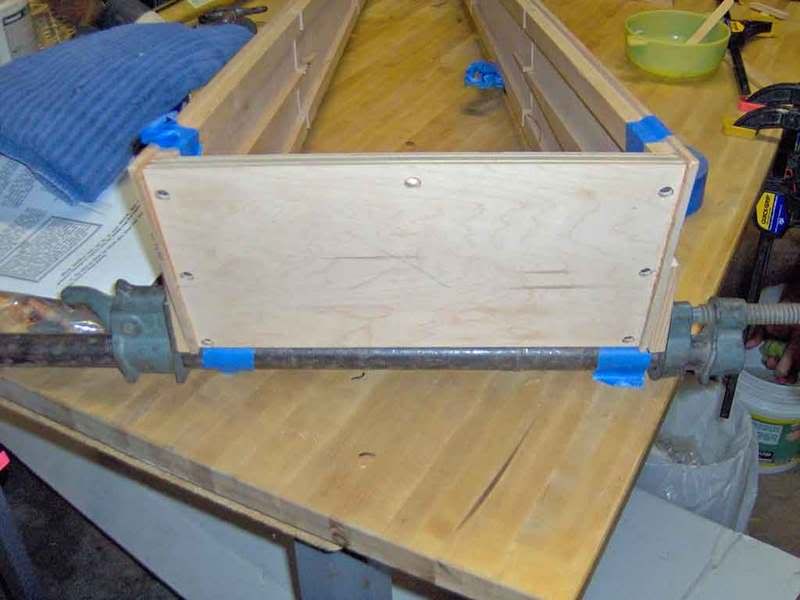
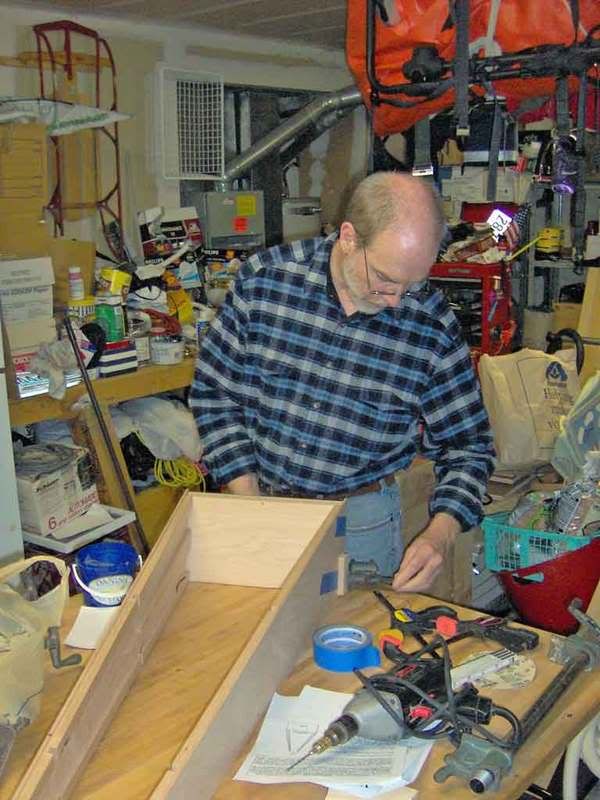
Today I job shadowed the Dusty Strings Factory. I left the house and arrived early in somewhat formal but still practical clothing. I was asked to bring in my incomplete harp for some professional help, which I did. Before this, I installed all the trim strips, no matter how many times I had to tear them off and re-apply them. Naturally, the back left trim strip spilled out a lot of glue (which didn’t actually seem to stick to the strip), so I was hoping to see how well I could take care of it. I arrived, was introduced to the Production Manager, who brought me around to different people.

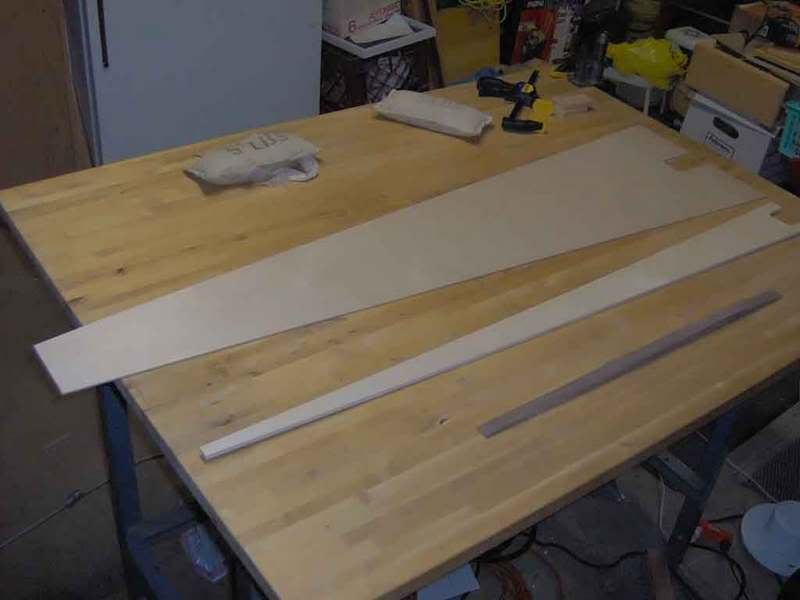
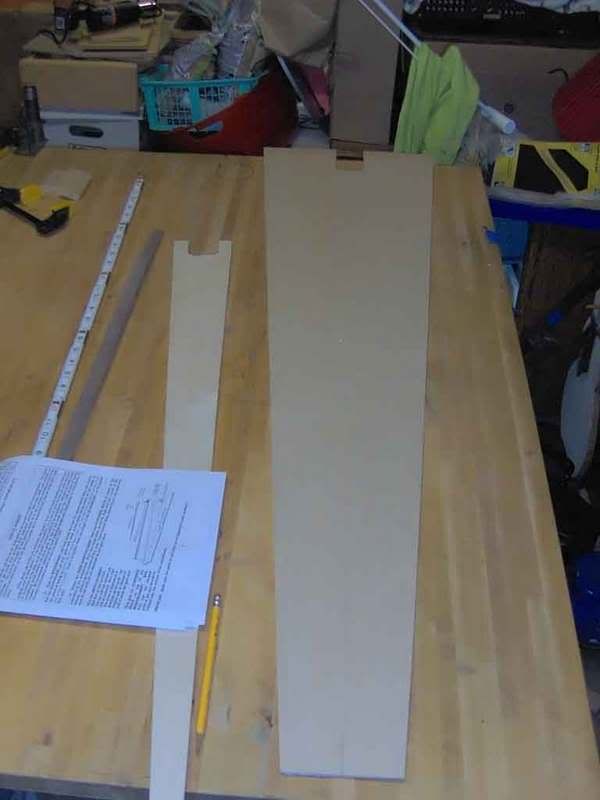
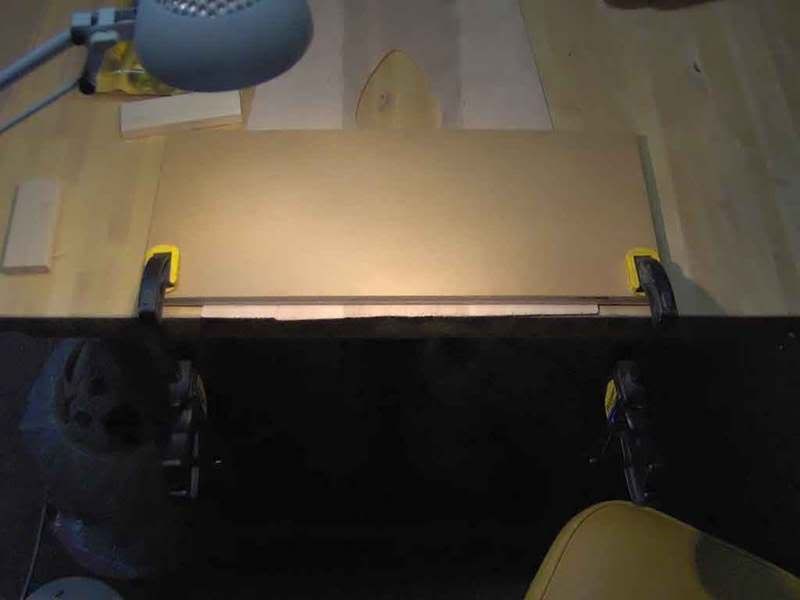
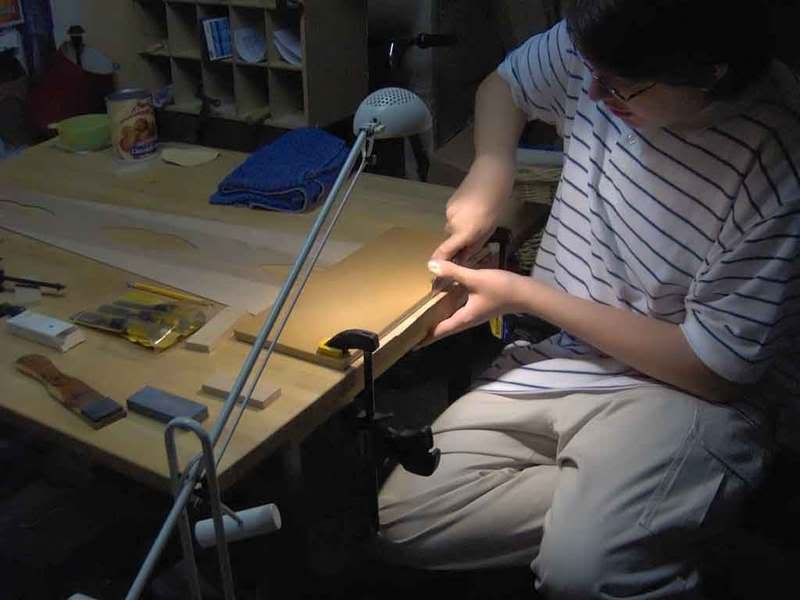
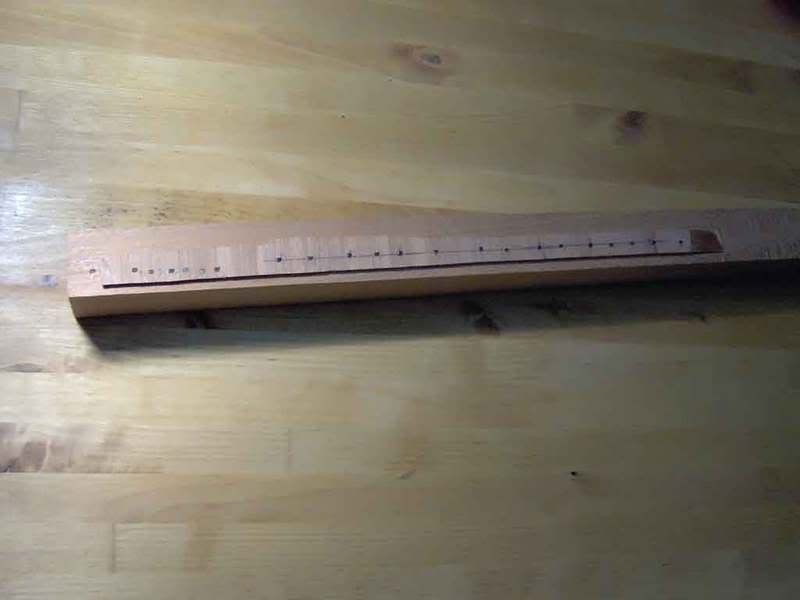
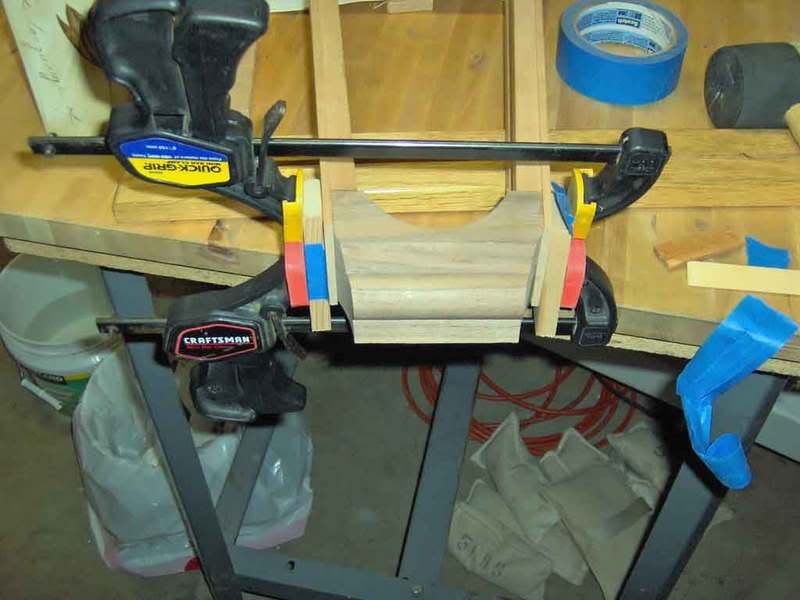
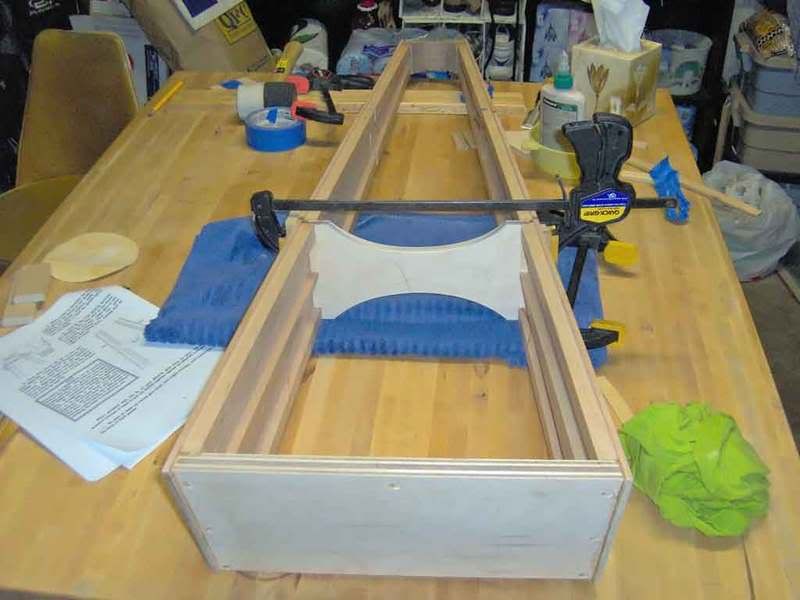
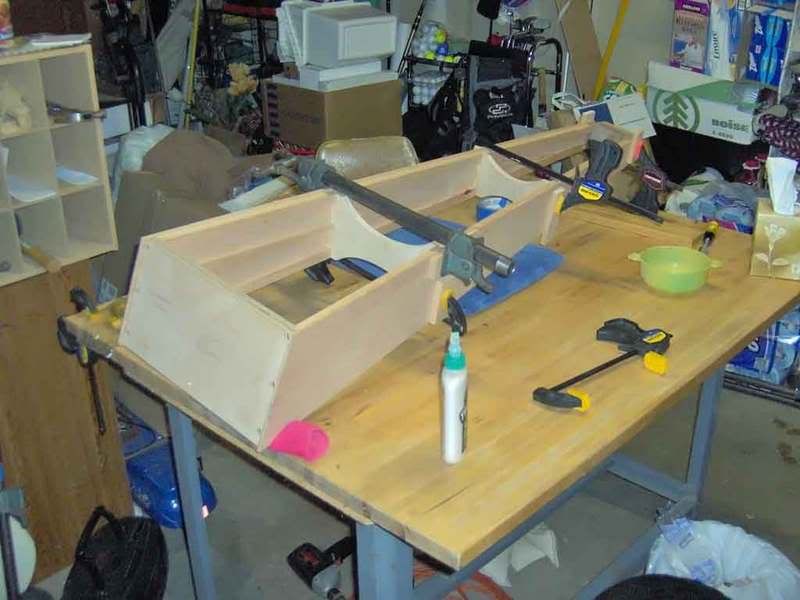
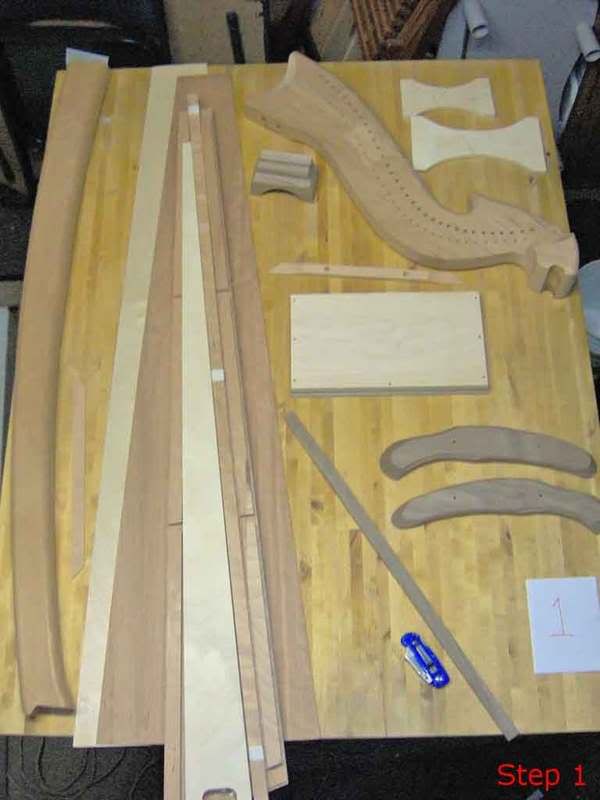
The first person I met told me about planing wood, bringing trim strips to a flush, and how to use a planer effectively. He also showed me how the Dusty Strings harps are brought to a flush edge all around, even with the multitude of protruding strips. The next man showed me how to apply extra glue effectively to a trim strip, and then how to assemble the neck and Harmonic Curve. Amazingly, I did assemble them.

The third person who helped me showed me how the Ravenna line was made. It was amazingly simple – I think that Dusty Strings should make a kit out of it. The fourth person who helped me actually showed me how the sharpening levers were installed. With a few more pointers, I went down to start the sanding on my harp under the eye of yet another helpful employee. He showed me how to fill in holes with filler, how to sand things to a flush, and generically helped me get my harp to its near finished state.

All in all, this long day was immensely wonderful and very full. I loved it!

Saturday, October 20, 2007

Journal Entries!

Sunday September 30, 2007 (8:04 – 10:07 AM, 2 1/20 hours, 35 13/15 hours total)

Today, I worked on trimming the soundboard and gluing it on. After hard work, a nasty head cold that dulled my mind, and a lot of frustration, I glued the trimmed soundboard to the soundbox. When I next work on the project, I will power brad the soundboard into place for extra security.

Friday October 12, 2007 (1:36 – 5:47 PM, 4 11/60 hours, 40 1/20 hours total)

Today I visited Dusty Strings again. I talked to Eileen, who was again immensely helpful. Now that I am building a harp, I marvel at their expert craftsmanship. They are simply amazing – I hope I can create such beautiful structures. I signed up for the Harp Symposium, which will take place on November 2 – 4, which means that I will miss Friday’s school. It is a worthy cause, though. I simply can not wait.

I volunteered to be a “Harp Vallet”, which is more lovingly called a “Harp Monkey”. They cut the $200 fee in half if I come early and carry harps up and down the stairs. I can not wait to do it, and to keep my skills in check, I rented a harp from Dusty Strings. A 32-string harp, which was the closest to the 33-string harp I am building (it is just missing the highest string). A link to it can be seen here: http://dustystrings.com/building/fh32.shtml .

Week of October 12 – 19, 2007 (1 1/3 hours, 41 23/60 hours total)

I have practiced religiously on the rented harp. It is such a beautiful sound; I almost melted when I heard it. I can not wait to be a better harpist/harper so that I can make the sound truly worthy of the instrument.

Sunday, September 23, 2007

Steps Eleven through Thirteen - Woot! Soundboard!

Friday September 21, 2007 (6:35 – 8:03 AM, 10:58 AM – 4:33 PM, 8 1/20 hours, 33 49/60 hours total)

I devoted today to my Senior Project. This morning, when I woke up (annoyingly early, I might add), I watched Sylvia Wood’s learning how to play harp video. I observed the hand movements, music, and technique. That took a bit of time, so I took a nice-sized break in between that and working on the construction.

I set up and drilled the soundboard (mostly) during the obnoxiously long time period. I first laid out all of the parts, measured and traced them, and then I glued them on, or so I thought. Apparently, on the reinforcement bar, I did not apply enough glue to the tapered end, which I found out later. I continued on and soon had the stiffener on top of the reinforcement bar, which was on top of the inside of the soundboard. The glue said to let it sit for thirty minutes, but I let it sit for an hour.

During the hour of waiting, I started to sand the notch of the reinforcement bar so it was flush with the soundboard (it was too narrow, so I made it flush on one side). My arm did hurt a lot during that process, sine the reinforcement bar was quite tough. I did get it close before I just could not proceed even more.

Once the glue had set, I picked up the 1/8” drill bit, drill, and began putting holes in the soundboard. Of course, I followed the punch marks and kept the drill as vertical as I could. Around the seventy-eight punch hole, however, the board underneath slipped slightly. It was not a big deal, I figured (probably just my tired arm), so I took a small break and began again ten minutes later. Since it did not happen for the next few notches, I figured that I solved the problem. On notch thirty-two, though, I witnessed the reinforcement bar jut away from the soundboard underneath. Apparently, I put too much pressure on the glue and the very end of the reinforcement bar became undone. I applied more glue, waited another hour (ugh), continued the flush sanding on the other end of the board, and waited again. When the hour was up, I tested the tip of the soundboard’s reinforcement bar. It still came undone! Now getting frustrated, I applied glue for overnight drying. If anyone would try and build a Voyageur Harp, then my words of wisdom (that I’ve learned so far) are: Glue generously, clean quickly, and dry overnight.

Thursday, September 20, 2007

Steps Eight through Ten - The Back is Done!

Thursday September 20, 2007 (7:02 – 9:35 PM, 2 11/20 hours, 25 23/30 hours total)

Today I assembled the back of the harp’s in one fell swoop. I started off by sanding down the braces to a flush, making a smooth surface for the back to rest on. After that, I dry-fit the back, choose the surface without a large brown smear down the middle, and a very beautiful set of grain. I traced where I felt I should cut off excess material on the back, and then I squeezed the back panel between the table and a wooden block. I cut off the excess, leaving enough room to sand to a flush. When I marked and cut the back panel, I then practiced using a power brad nailer into a scrap piece of cherry. Once I figured out the proper level of pressure, I knew I was ready to continue onto the rest of the steps. I marked spots around the perimeter of the board that was about half an inch away from the outside and an inch apart from each other. When I had my goals, I applied the glue, smoothed it out, put the back on, clamped, and began the nailing. The nailing went smoothly, considering I was relatively new at it. I had a bit of trouble keeping the tool vertical at all times, so I might not have perfect nail placement.

I rested 5 lbs. sand bags on top of the braces (hidden by the back panel) and ensured that it was safe and secure. Steps eight through ten have now been completed.

Photographic Evidence (Step 8)
Photographic Evidence (Step 9)
Photographic Evidence (Step 9 and Me)
Photographic Evidence (Step 10)

Wednesday, September 19, 2007

Steps Five and Six?! Amazing! Wait - is That Even a Step Seven?

Wednesday September 19, 2007 (7:45 – 9:46 PM, 2 1/60 hours, 23 13/60 hours total)

The more and more I e-mail Musicmakers, the more and more I appreciate the company. Matt from Musicmakers has been keeping in contact with me as we exchange e-mails. He even asked for the link to the blog so that he could put it on the web site! I was extremely honored.

Aside from that, I continued the project and managed to get relatively far. I glued in the top of the body, clamped it up, and waited thirty minutes (Step Five). During those thirty minutes, I did some research and ensured that I was on the right track. After the thirty minutes, I test-fitted the braces into the body and tried to ensure that they were fitting properly. After I was confident, I glued them in, wiped off the excess glue, and clamped it up. At the moment, the body is suspended on clamps, which makes me a bit worried. I did double-check the integrity of the structure, put some padding under trouble areas, and adjusted it so that it would be difficult for it to fall over. That makes steps four and five completed - a great night of work, as well as clean-up, which is step seven.

Photographic Evidence (Step 5)
Photographic Evidence (Step 6)
Photographic Evidence (Step 7)
Photographic Evidence (Me)

Tuesday, September 18, 2007

Step 3, Huzzah!

Tuesday September 18, 2007 (3:12 – 4:11 PM, 7:13 – 9:31 PM, 3 17/60 hours, 21 1/5 hours total)

Musicmakers did respond, and they said:

“Hi Matthew,

Small warpage on the sides should not present any problems
as these pieces will bend back to form during the assembly
process. Gluing the sides to the base, top, and all the braces
will ensure that your side pieces are straight.

Let me know if you have any more questions.

Matt”

I thought it was friendly of Matt to respond so quickly, which is making me like Musicmakers even more. I was not too sure about the answer, so I waited for my Mentor to show up. He did arrive slightly late, but we had a splendidly enlightening discussion about the wood, clamps, glue, techniques, harp companies, and so forth. He had to go, though, so he left with the promise that he’d arrive later tonight to lend me more clamps, tape, towels, and other sundries.

A little after seven, my mentor came back with what he said he’d bring and more. I helped load it into my handy dandy work area, which I am intent on keeping organized. He said that I should take my sweet, sweet time, wipe up after the Titebond glue (I love this glue already), and that there was no rush. So I did my best to live by his words to me, but I fear that I may have gone too fast. I did my best to slow down (I just do not want to do something wrong), so I gradually hammered the base of the harp into place with a rubber mallet (very carefully) to make sure that it was just in the right spot. After tightening the clamps and triple-checking the fit, I decided that it was as perfect as I was going to get it. I drilled a 7/64” bit 1 5/8” inches into the wood for the six sides of the base into the sound box’s side, and then I glued and screwed it in. After clamping it up, wiping the glue off (a lot, just to make sure), and ensuring it was safe, I called it a night. It is getting late, after all.


Step 2, Three cheers!

My mentor dropped by today, and according to him, this is completely normal. The shift and slight bend is hardly noticeable and that it is almost to be expected. Musicmakers also said the same thing, which made me feel quite good. My mentor is coming by later tonight to start the drilling and to see how far we can get.

I spent about an hour with him already - this sixty hour limit thing is going to be a piece of cake!

Monday, September 17, 2007

Step 2, and there is already a hitch

Monday September 17, 2007 (6:59 – 8:21 PM, 1 11/30 hours, 17 11/12 hours total)


Oy vey. I had to test-fit the sides, base, and top of the harp together. It was difficult, considering the considerable length of the sides. Naturally, I asked my dad to come down and be an extra pair of hands to help hold the pieces together. When we did, we hit a major issue: they did not fit.

The base had a wedge-like gap in between it and a side, signaling a piece that was not shaped properly. We did not know what it was, so we tried different placements just in case a piece was up side down. Alas, we had the pieces in correct alignment. I then called up my mentor, and we had a difficult time describing it over the phone (he had no car to drive over). Gradually, he agreed with our assessment that a piece was warped. We carefully looked at each piece and found out that a side was bent inward. That was not good.

I now have to e-mail the Musicmakers and ask for a replacement part for the harp. I am upset that we had to press the pause button so early into the project, but I want to do this correctly the first time. They have a neat offer to finish constructing your harp if you have problems, but I do not want to use that feature. It is a last resort to keep this project moving.

Step 1

Time:

Hello everybody! I am here to announce that I am finally getting this harp project on the road. I have now set up my garage for the lovely and handy station that I am using to do the building, and I am using this to show everybody the work I am doing. After all, I have had a lot of people ask about it.

So, today, I started step one of the project. I recieved the kit on September 11, but I did not open it. My father and I managed to make a hole in the junk of the garage to set up a work station, which I am using. He showed me how to care for his personal tools, then we organized as much as we could. I wrote the part names lightly in pencil on top of each piece (as well as in an orange sharpie for the screws, dowels, pins, etc. on the bags). I did not have any missing parts or damaged pieces (as far as I could tell), so I am ready for step two.