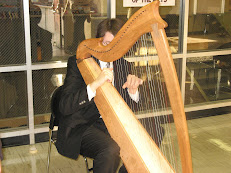
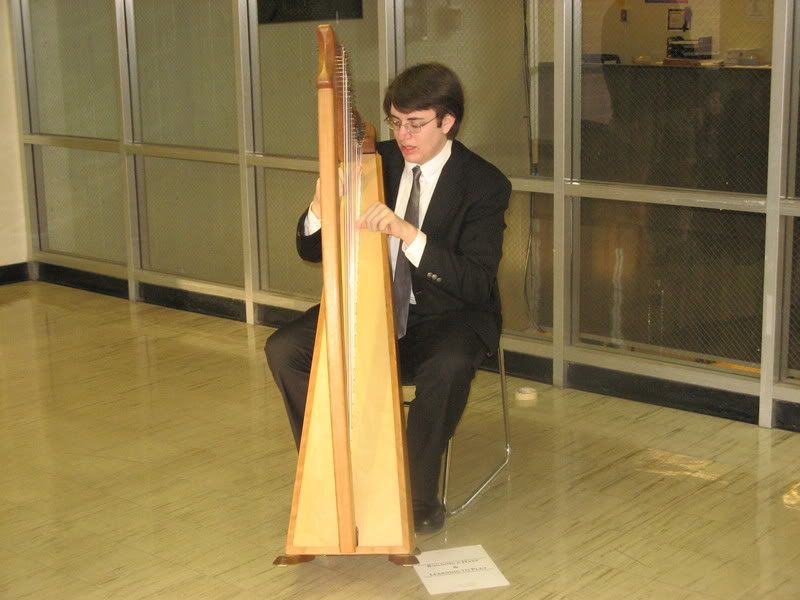
Finally, my harp is complete! I have built it, sanded it, finished it, strung it, tuned it, and now played it. I couldn't be happier.
I have two pictures for you readers of me playing my harp. This took place at the Evening of the Arts, where I played for the crowds of people who entered and exited. I was the first and last project most people saw that night. I received a huge amount of compliments and kudos from people, which made me ecstatic.
Monday, May 5, 2008
Sunday, March 16, 2008
The First Day of Finishing
Today, I applied the first coat of finish to my harp. I used a spongy applicator and a lot of patience. My dad was there to point out places I missed and to help hold up the harp so I can coat the entire thing. It was really fun, actually, and I spent about an hour working on it. I am suppose to do this every day until it is done.
Here is a picture for you all to enjoy.
Here is a picture for you all to enjoy.
Saturday, March 15, 2008
Home Stretch
With over 148 hours on my Senior Project, I am proud to say that I am done with my sanding and now ready to apply the finish. After I set up a rig in the computer room, I will apply the Musicmakers semi-gloss varnish thinly and carefully, doing my best to prevent any dust from collecting into the layers. If dust gets into the varnish, then there will be specks on my beautiful wood! I didn't spend over a hundred hours of my life preparing for something then letting it become ruined due to dust. I will be patient, careful, and considerate with this. I can do this!
Now that I see there are people reading this, I encourage you all to post your comments. I love reading them!
Now that I see there are people reading this, I encourage you all to post your comments. I love reading them!
Tuesday, January 29, 2008
So Far
I'm proud to say that I've sanded even more and am nearing the end of the sanding process. I need to now switch up to a 320 grit paper, sand it all again, and then do an interesting process. My mentor suggested that I should coat a small cotton piece of fabric with a very small amount of water, barely damp. I should then gently rub it across the surface of the wood and let it sit for a bit. I then should sand off the slightly risen grain. That will help my varnish go on much smoother. I'm pretty excited. I can see the end in sight!
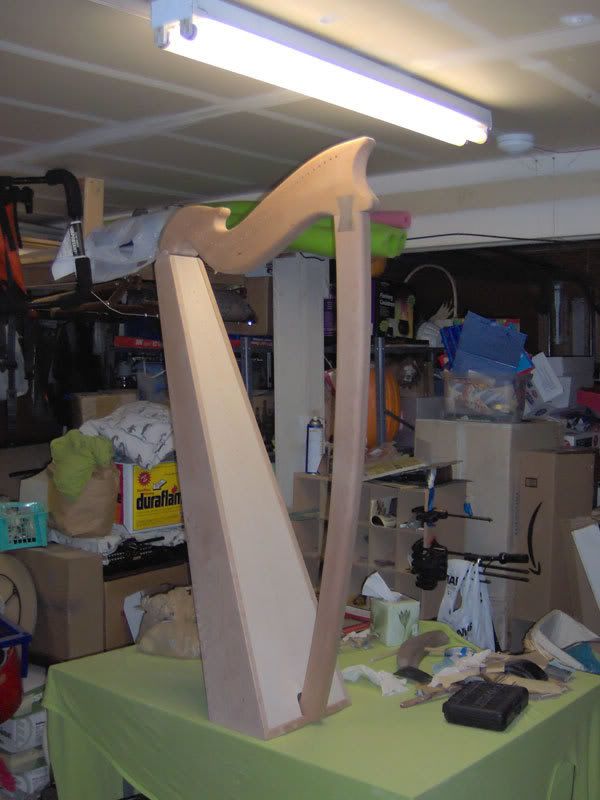
Or, at least the end of the harp's construction. After it is built, fully assembled and everything, I have to sew myself a case for it. That means I have to learn how to sew, and I have no idea how to do that. This will be a fun experience.
And for the few that read this, here's a picture of the harp so far.
Tuesday, January 1, 2008
A Huge Load of Nothing Special
With the soundbox, harmonic curve and neck, and the feet all ready to sand, I went out to buy myself two new types of sand paper: 150 and 180-bit grit. These will be used one at a time over the entire piece of wood before I move onto the next kind. I will know when to move to a higher value when I see small marks caused by the sand paper to form on the wood.
For the last month and a half, I have been sanding and sanding the harp. I have completed two walnut feet (which were a bit of a pain, due to all of the curves), the body (which was pretty strait foreword), and the combined harmonic curve (a super pain, because of a lot of curves and cuts) and the pillar (very easy). I started on the feet with 150-grit to remove any marks already in the wood due to the cut from the original block. After I started to make my own marks, I used the 180 to buff out those marks and smooth even more. Finally, I used a 220 to make it the smoothest it has ever been. I repeated those steps with all three wood groups.
My hands hurt, and at times I felt like I breathed in more dust than air, but it is worth it. The harps feels so much better now.
Total time? Over a dozen hours of sanding off and on.
Subscribe to:
Posts (Atom)